Gatsbyで1時間でブログを作るチュートリアル (Qiitaの記事を移行する)
Gatsbyを使ってブログを作ります。 基本的なお作法はこちらにまとめたので良かったら参照ください。 今回はstarterは使わずにやっていきます。
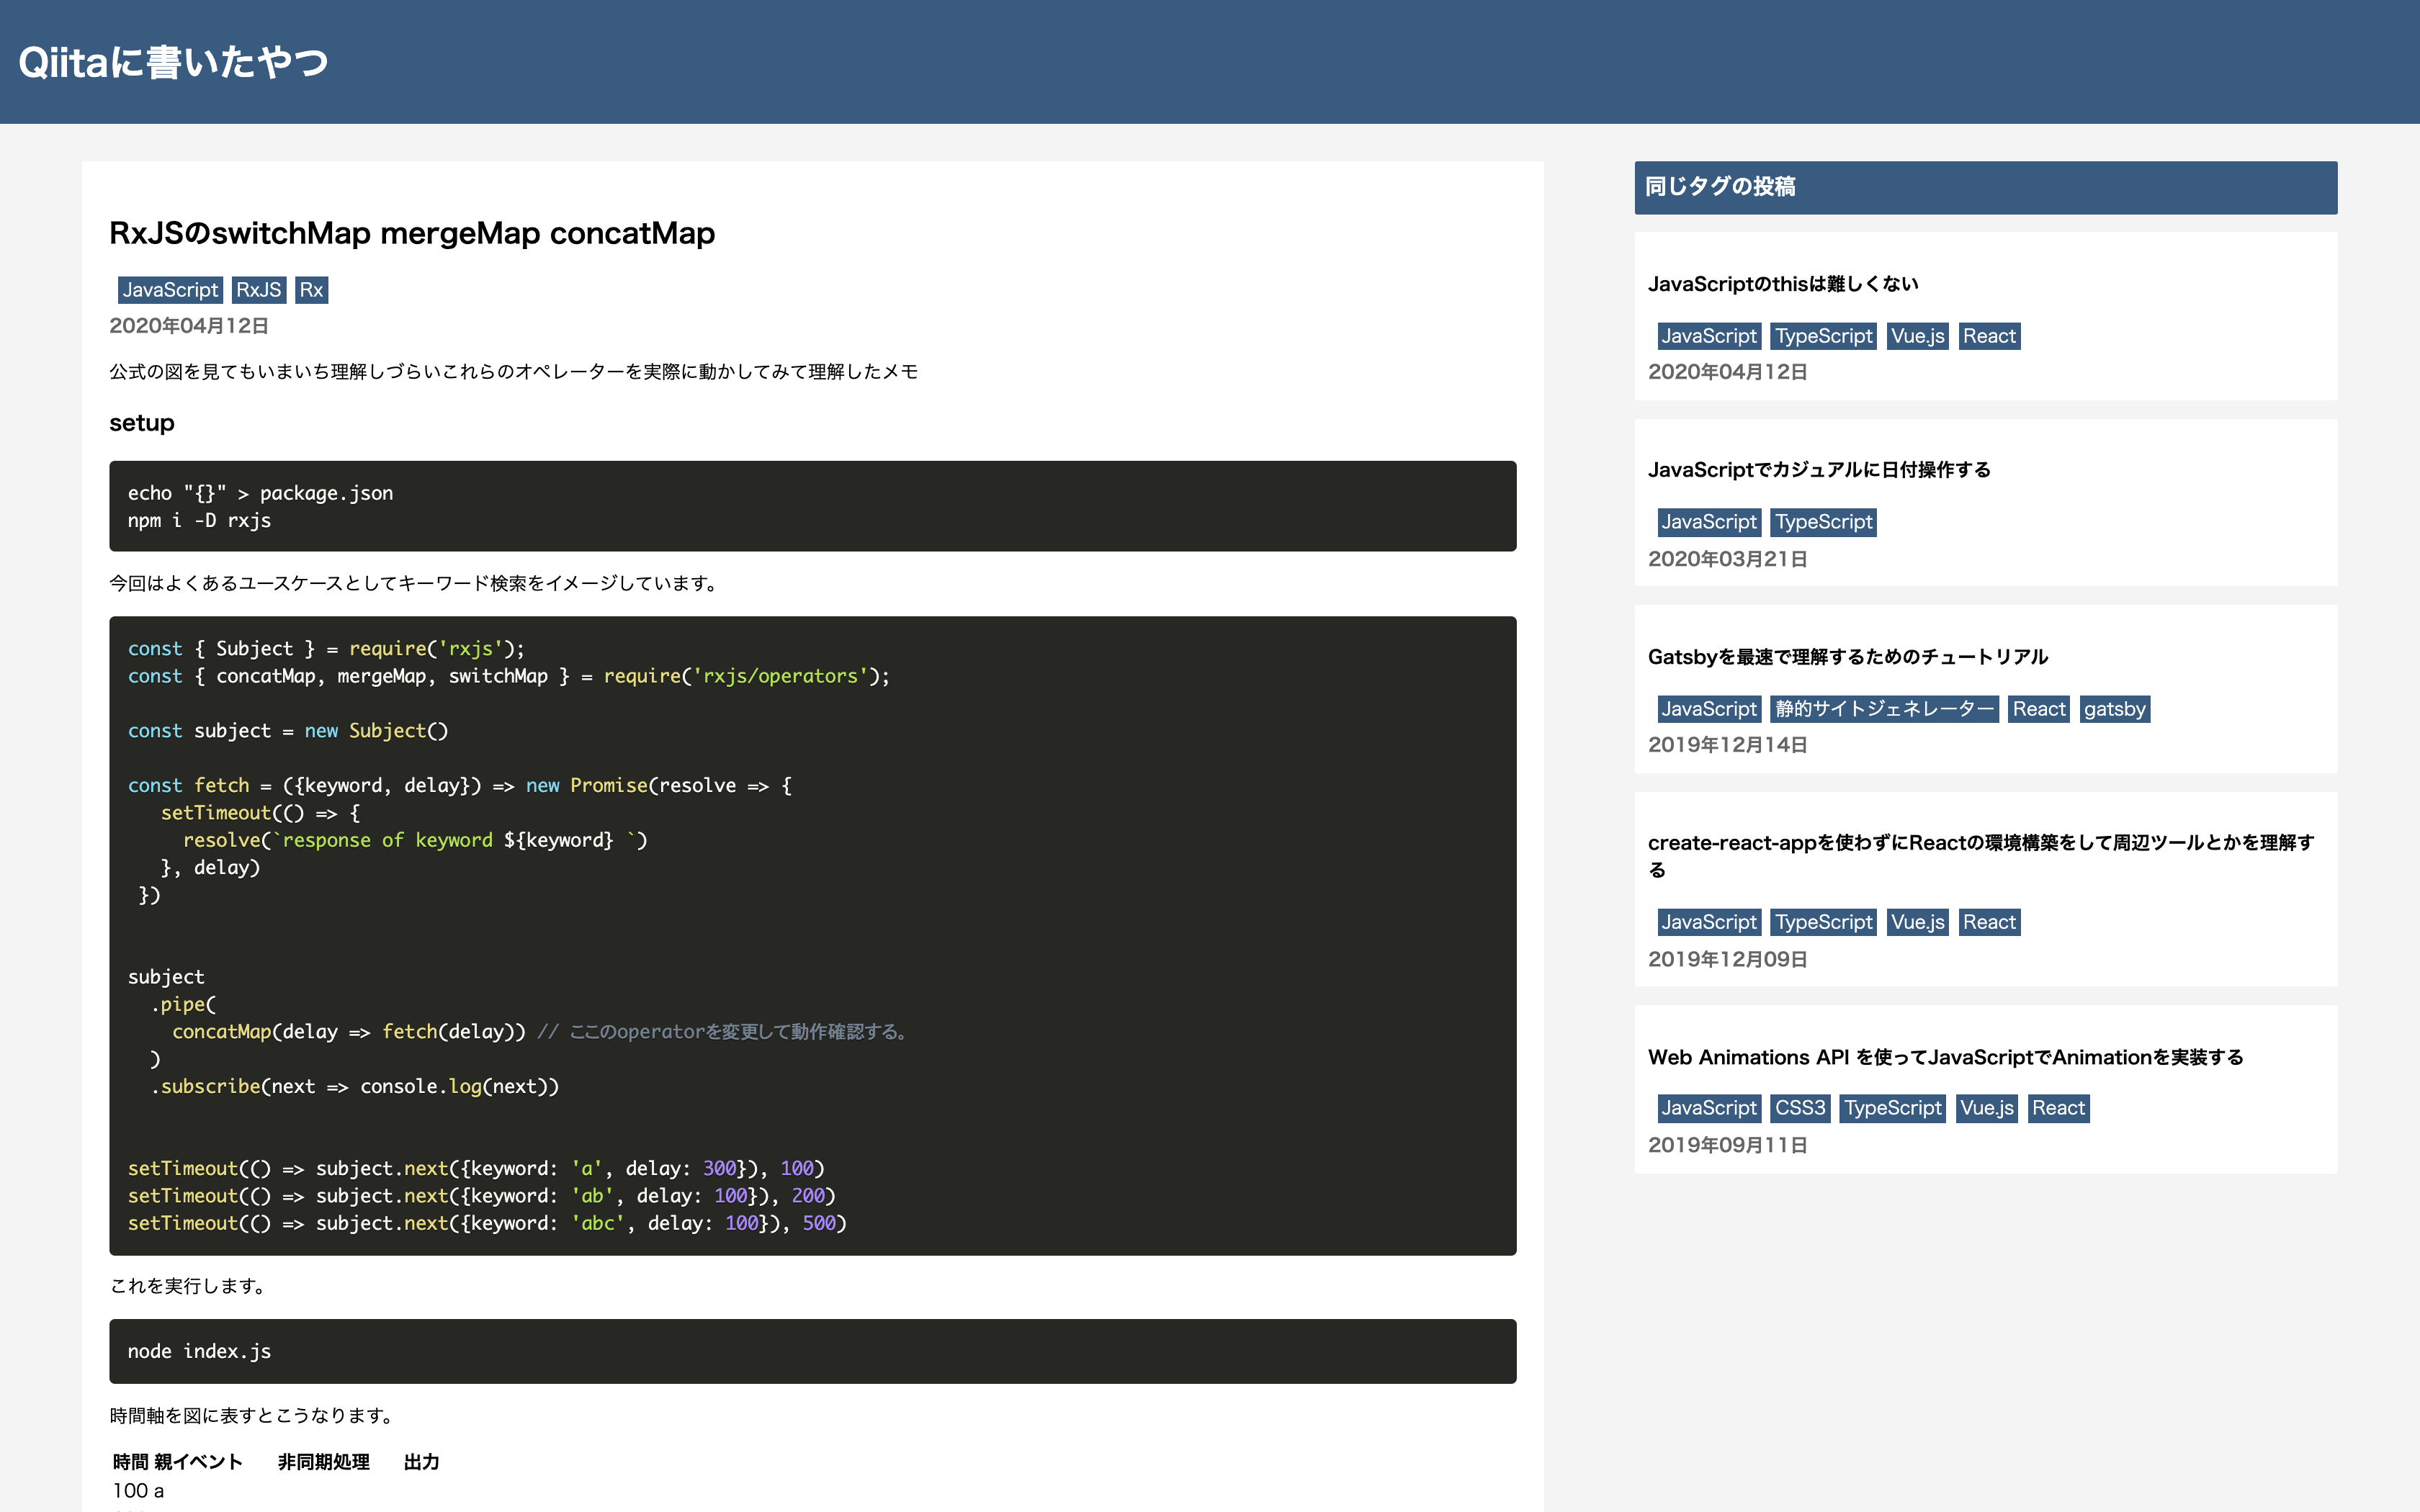
最終的にはQiitaに書いた記事を作ったサイトにのっけて公開しました。 (画像はS3を参照しているので完全な移行ではないですが)

前提
記事は下記のようなメタ情報を含むマークダウンで書かれている前提です。
---
title: Gatsbyでブログを作るチュートリアル
date: 2020-04-11
tags: ["Gatsby"]
---

# Step1 Gatsbyをインストール&Hello Gatsby!

...
Step1 Gatsbyをインストール&Hello Gatsby!
プロジェクトを作成して以下の手順ですすめます。
echo "{}" > package.json
yarn add -D react react-dom gatsby
mkdir -p src/pagesimport React from "react"
export default () => <h1>Hello Gatsby!</h1>gatsby develophttp://localhost:8000/ にアクセスして表示されることを確認します。
setting-up-gatsby-without-gatsby-new
Step2 Graphqlを使ってブログのの内容を取得する。
contentsディレクトリに記事を作成します。
mkdir contents---
title: Gatsbyでブログを作るチュートリアル
date: 2020-04-11
tags: ["Gatsby"]
---
# Step1 Gatsbyをインストール&Hello Gatsby!
...yarn add -D gatsby-source-filesystem gatsby-transformer-remarkmodule.exports = {
plugins: [
{
resolve: `gatsby-source-filesystem`,
options: {
name: `src`,
path: `${__dirname}/contents/`,
},
},
`gatsby-transformer-remark`
]
}上記のプラグインを導入して先程作成したcontentsディレクトリを読むようにプラグインの設定を追加します。
http://localhost:8000/___graphql にアクセスすると以下のクエリで記事の一覧が取得できると思います。
{
  allMarkdownRemark {
    edges {
      node {
        frontmatter {
          title
          tags
          date(formatString: "YYYY年MM月DD日")
        }
      }
    }
  }
}
{
"data": {
"allMarkdownRemark": {
"edges": [
{
"node": {
"frontmatter": {
"title": "Hello Gatsby",
"tags": [
"Gatsby"
],
"date": "2020年04月11日"
}
}
}
]
}
}
}これでcontentsに配置したmdファイルの内容を取得できます。
Step3 記事一覧ページを作る
先程のクエリをつかって、記事一覧を表示します。
import React from "react"
import { graphql, Link } from "gatsby"

export const query = graphql`
  query {
    allMarkdownRemark(sort: { order: DESC, fields: frontmatter___date }) {
      edges {
        node {
          id
          frontmatter {
            title
            tags
            date(formatString: "YYYY年MM月DD日")
          }
        }
      }
    }
  }
`

export default ({ data }) => {
  const edges = data.allMarkdownRemark.edges
  return (
    <div>
      <h1>全ての記事</h1>
      <ul>
        {edges.map((edge) => (
          <li key={edge.node.id}>
            <Link to={edge.node.id}>
              <div>
                {edge.node.frontmatter.tags.map((tag) => (
                  <span key={tag}>{tag}</span>
                ))}
              </div>
              <div>{edge.node.frontmatter.title}</div>
              <div>{edge.node.frontmatter.date}</div>
            </Link>
          </li>
        ))}
      </ul>
    </div>
  )
}
Step4 テンプレートを使って記事を表示する
一覧ページから遷移する記事のページを作成します。
mkdir -p src/templatesテンプレートを作成します。
import React from "react"
import { graphql } from "gatsby"

export const pageQuery = graphql`
  query markdown($id: String!) {
    markdownRemark(id: { eq: $id }) {
      html
      frontmatter {
        title
        tags
        date(formatString: "YYYY年MM月DD日")
      }
    }
  }
`

export default ({ data }) => {
  const html = data.markdownRemark.html
  const { title, tags, date } = data.markdownRemark.frontmatter
  return (
    <div>
      <article>
        <h1>{title}</h1>
        <div>
          {tags.map((tag) => (
            <span key={tag}>{tag}</span>
          ))}
        </div>
        <div>{date}</div>
        <div dangerouslySetInnerHTML={{ __html: html }} />
      </article>
    </div>
  )
}作成したテンプレートとcreatePage APIを使って動的にページを生成します。
const path = require("path");

exports.createPages = async ({ graphql, actions }) => {
  const { createPage } = actions;

  const result = await graphql(`
      query {
        allMarkdownRemark {
          edges {
            node {
              id
              html
            }
          }
        }
      }
  `);

  if (result.errors) {
    throw result.errors;
  }

  const posts = result.data.allMarkdownRemark.edges;

  posts.forEach((post) => {
    createPage({
      path: post.node.id,
      component: path.resolve(`./src/templates/post.js`),
      context: {
        id: post.node.id
      },
    });
  });
};
これで記事一覧ページと記事ページへの遷移が完成です。
Step5 見た目を整える
好みのCSSフレームワークを使って見た目を調整していきます。今回はstyled-componentを使います。
yarn add -D gatsby-plugin-styled-components styled-components babel-plugin-styled-componentshttps://www.gatsbyjs.org/docs/styled-components/
module.exports = {
  plugins: [
    `gatsby-plugin-styled-components`,
     ...
  ],
}CSSはgatsby-browser.jsで読み込みます。
body {
  margin: 0px;
  --theme-color: hsl(209, 47%, 35%);
}require("./index.css")5-1 一覧ページ
コンポネントを作成しつつ、スタイルをあてていきます。
import React from "react";
import { Link } from "gatsby";
import styled from "styled-components";

const Wrapper = styled.header`
  background: var(--theme-color);
  margin: 0px;
  padding: 0.5em 1em;
  color: white;
  a {
    text-decoration: none;
    color: white;
  }
`;

export default () => (
  <Wrapper>
    <h1>
      <Link to="/">Qiitaに書いたやつ</Link>
    </h1>
  </Wrapper>
);import React from "react"
import styled from "styled-components"
const Wrapper = styled.footer`
background: #999;
padding: 1em;
color: white;
`
export default () => <Wrapper>2020 churabou</Wrapper>import React from "react"
import styled from "styled-components"
import { graphql, Link } from "gatsby"
import Header from "../components/Header"
import Footer from "../components/Footer"
export const query = graphql`
query {
allMarkdownRemark(sort: { order: DESC, fields: frontmatter___date }) {
edges {
node {
id
frontmatter {
title
tags
date(formatString: "YYYY年MM月DD日")
}
}
}
}
}
`
const Body = styled.div`
padding: 2em;
ul {
list-style: none;
padding: 0px;
}
li {
padding: 1em;
margin-bottom: 1em;
box-shadow: 0px 0px 4px rgba(0, 0, 0, 0.3);
div {
padding: 0.25em;
}
span {
display: inline-block;
padding: 0.25em;
background: var(--theme-color);
color: white;
margin: 0 0.25em 0.25em 0;
}
a {
text-decoration: none;
color: black;
}
}
`
export default ({ data }) => {
const edges = data.allMarkdownRemark.edges
return (
<React.Fragment>
<Header />
<Body>
<h1>全ての記事</h1>
<ul>
{edges.map((edge) => (
<li key={edge.node.id}>
<Link to={edge.node.id}>
<div>
{edge.node.frontmatter.tags.map((tag) => (
<span key={tag}>{tag}</span>
))}
</div>
<div>{edge.node.frontmatter.title}</div>
<div>{edge.node.frontmatter.date}</div>
</Link>
</li>
))}
</ul>
</Body>
<Footer />
</React.Fragment>
)
}5-2 記事一覧ページ
以下のプラグインを追加してsyntax hilightをします。 GatsbyのPluginのgatsby-transformer-remarkのプラグインです。
yarn add -D gatsby-remark-prismjs prismjsmodule.exports = {
plugins: [
{
resolve: `gatsby-transformer-remark`,
options: {
plugins: [
{
resolve: `gatsby-remark-prismjs`,
}
]
}
},
]
}使いたいテーマのCSSを読み込みます。
require("prismjs/themes/prism-okaidia.css");https://littlebylittle.work/2020/01/gatsby-syntax-highlighting/
少しスタイル当てると一気にブログっぽくなりますね。
https://github.com/churabou/gatsby-blog-tutorial/commits/master
Step6 公開する
GitHub Pages
GitHub Pagesで公開します。Gatsby関連は基本的にドキュメントを見るのが早いです。
https://www.gatsbyjs.org/docs/how-gatsby-works-with-github-pages/
yarn add -D gh-pagesmodule.exports = {
pathPrefix: "/repository_name",
...
}{
"scripts": {
"deploy": "gatsby build --prefix-paths && gh-pages -d public"
}
}yarn run deployリポジトリの設定でgh-pagesブランチを選んで公開完了です。
Netlifyで公開する
こちらが参考になりました
https://qiita.com/k-penguin-sato/items/7554e5e7e90aa10ae225
その他
Qiitaの記事ダウンロードする
const user = "Qiitaのユーザー名";
const https = require("https");
const fs = require("fs");
const URL = `https://qiita.com/api/v2/users/${user}/items`;

const fetchItems = () =>
  new Promise((resolve, reject) => {
    https
      .get(URL, (res) => {
        let rawData = "";
        res.setEncoding("utf8");
        res.on("data", (chunk) => (rawData += chunk));
        res.on("end", () => {
          try {
            resolve(JSON.parse(rawData));
          } catch {
            reject(e);
          }
        });
      })
      .on("error", (e) => reject(e));
  });

const main = async () => {
  const items = await fetchItems();
  items.forEach((item) => {
    const { title, tags, body, created_at } = item;
    const content = [
      "---",
      `title: ${title}`,
      `date: ${created_at.split("T")[0]}`,
      `tags: [${tags.map((tag) => `"${tag.name}"`).join(",")}]`,
      "---",
      "",
      body,
    ].join("\n");

    fs.writeFile(
      `./contents/${created_at}.md`,
      content,
      "utf8",
      (date, err) => {}
    );
  });
};

main();
node download.js上記のスクリプトを実行して投稿した記事のmarkdownを落としつつ、メタ情報を追加します。
関連タグを表示する
以下のクエリで同じタグかつ自分以外の記事を日付順に5件まで取得しました。
    sameTagPosts: allMarkdownRemark(
      limit: 5
      sort: { order: DESC, fields: frontmatter___date }
      filter: { frontmatter: { tags: { in: $tags } }, id: { ne: $id } }
    )
https://github.com/churabou/gatsby-blog-tutorial/commit/660e6089f44b5d2d1857b7914b4d545c360353d5
コードタイトルを表示する
gatsby-remark-code-titlesというpluginが人気らしいのです。
https://littlebylittle.work/2020/01/gatsby-syntax-highlighting/
ただ自分にはjs:title=filename見たいな書き方に抵抗があるので、qiitaのようにそのままファイル名を書いて使えるようにローカルにpluginを作ります。
mkdir -p plugins/gatsby-remark-code-titlepackage.jsonを作成してgatsby-config.jsでgatsby-markdown-remarkのpluginに指定します。
https://github.com/churabou/gatsby-blog-tutorial/commit/6b3a888702946533764f92e1c64ad46184271c67
SEO対策をする
ライブラリやプラグインを使うのが良さそうですね。
https://www.gatsbyjs.org/docs/add-seo-component/
ぺージング、検索機能、などなど・・・
時間があればやってきたいですね